This is the very first tutorial post in my blog. I hope you can understand what I'm talking about. I never know that making web 2.0 button was really simple and easy.
I designed all my graphics using Adobe Illustrator because of its great features. Ok, let's go!
Software :
Adobe Illustrator CS
Step 1
Open you Illustrator program and create a new file. Select Size:
Custom, Unit:
Pixels, Width:
500, Height:
400 and make sure you select
RGB Color for Color Mode. Then, click
OK.
Step 2
Go to your
Tools window (
Window > Tools). Press
D at your keyboard and then make the fill color look like this

. Select
Rounded Rectangle Tool 
and click to any place of the artboard and you will see a message box for Rounded Rectangle options. Enter Width:
200, Height:
70 and Corner Radius:
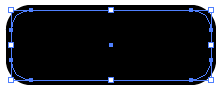
20. It would be something like this:
 Step 3
Click on
Selection Tool or press
V and click to your image. Go to
Object > Path > Offset Path and insert this value; Offset:
5 px, Joins:
Round, Miter Limit:
4 and press
OK. Then click at the center of the image. Now, you should get something like below:
 Step 4
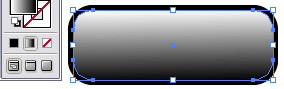
Apply a
Gradient color on it by clicking this tool

(see image below).
Then, go to
Gradient Tool or press
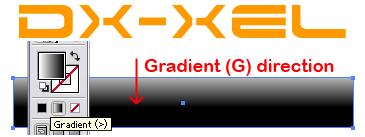
G ( while the Gradient image was still selected). After that, press
Shift + left click from top to the center of the image (see below),
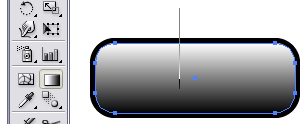
and
release the left click,

Woww..You're almost done!
Step 5 (Final Step)
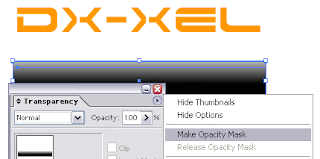
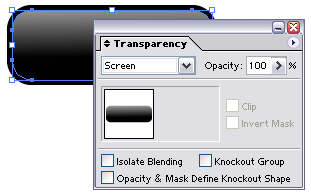
While the Gradient image was still selected, go to
Transparency palate and set it to
Screen (see below),
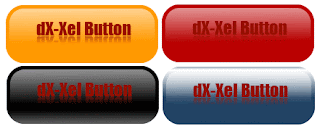
Final Button:
Congratulation! You're done!. That's all. Now you can change the black color to any of your favorite color or add some text to it.
Maybe next time I'll show you how to reflect the image or text.
My English is not perfect. If you don't understand or whatever, just leave a comments or email me. Yeahh!!!

 So, what do you think? Please tell me if you can beat this website..hehe..show me your flash website..maybe I can make a free review for you..:)
 So, what do you think? Please tell me if you can beat this website..hehe..show me your flash website..maybe I can make a free review for you..:)