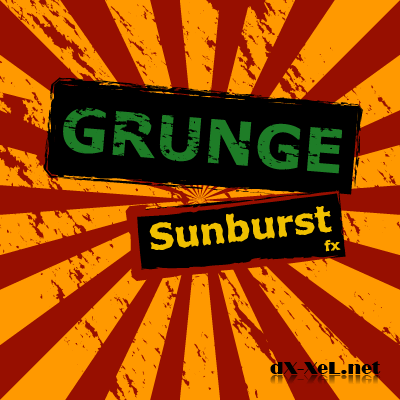
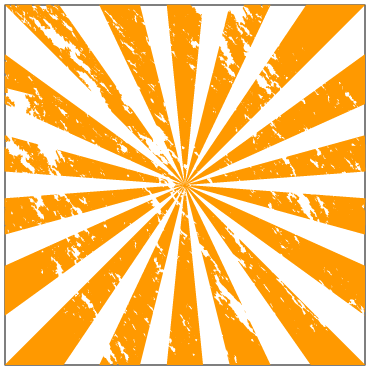
As promised before, today I’ll show you how to draw the sunburst shape and apply the grunge effect on it as well. Then, we will learn on how to save our sunburst shape to symbol so that you’ll never need to create them over and over again. And finally, I will show you a little tricks how to apply the grunge effect on text. Anyhow, here we go.
Software:
Adobe Illustrator CS
Step 1
Create a
New Document with 500px x 500px setting. Select
RGB Color for Color Mode.
Go to
View > Snap to Grid (Shift + Command/Ctrl + ").
Step 2
Select the
Rectangle Tool or press M and click once anywhere on the artboard. You’ll see a popup window. Enter Width:
400px, Height:
400px. Fill it with a white color and a black stroke color.
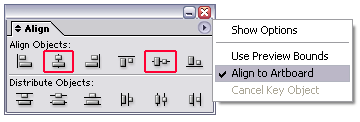
Align our rectangle to the center of our artboard using the
Align palette (Shift + F7). Make sure you select the
Align to Artboard in order to make it work.

Go to the
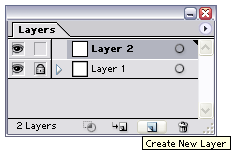
Layers palette (F7) and lock Layer 1. Create new layer.
 Step 3
Repeat Step 2
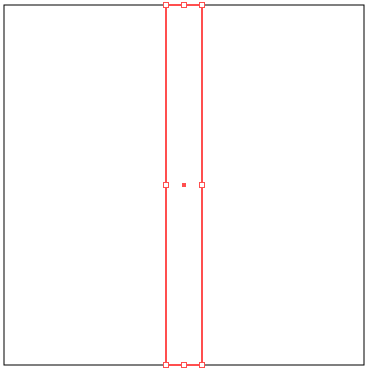
 to draw another rectangle. Enter Width:
40px and Height:
400px. Also,
align it to the center. And this time
just apply a
black stroke color on it without a fill color.
 Step 4
Go to
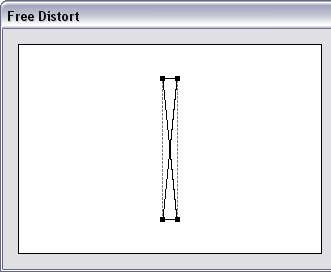
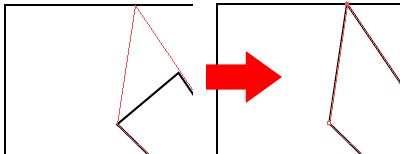
Effect > Distort & Transform > Free Distort…What we're trying to do right here is to switch the position of our bottom-left point and the bottom-right point. To do this,
click and
drag the bottom-right point to the bottom-left point. After that
click and
drag the bottom-left point to the bottom-right point. You’ll have something like this:-

Click
OK. Then go to
Object > Expand Appearance.
Step 5
Double click the
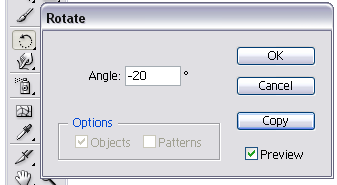
Rotate Tool. Enter Angle:
-20 and click
Copy.

Press
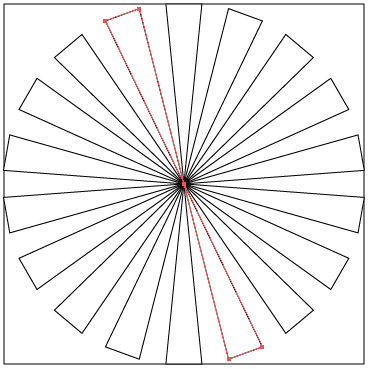
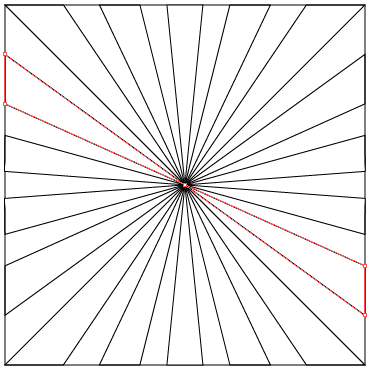
Command/Ctrl + D seven times. You should have a similar shape like below:-
 Step 6
Ok, now we would like make it really look like a sunburst. Grab your
Direct Selection Tool or just press
A. Select a
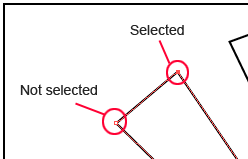
single point of our shape. Then,
click and
drag the point until it "snapped" on our big rectangle line.


Do the same to the other points until you get something similar like below:-
 Step 7
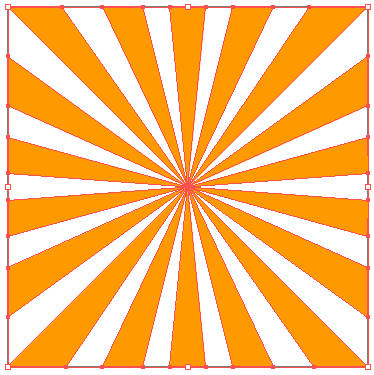
Ok, now, select all of our shape and fill it with Orange color, #FF9900 with no stroke color.
 Drag
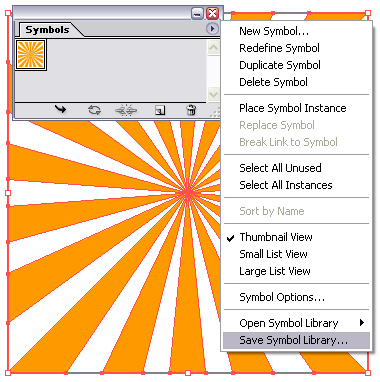
Drag this sunburst shape to the
Symbol palette (Shift+F11). Click the circle-triangle button and
Save Symbol Library. Just save it as orangesunburst.ai.

Wow! Right now you already have a vector sunburst shape and guess what, you’ll never need to recreate them. To use it, just
Open Symbol Library, locate the orangesunburst symbol file. Drag the symbol to your artboard. And of course, you can change the color, resize them to make it bigger or even smaller.
Continue to next step to give this sunburst a grunge effect.
Note: Just delete the other symbols that you don’t use. Don’t worry about it.;)
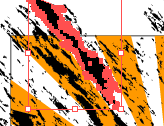
Step 8
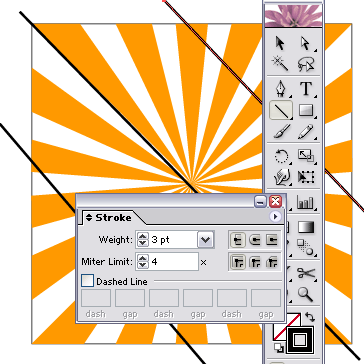
Using the
Line Segment Tool (/), draw 3 lines across our sunburst and set Weight:
3px on
Stroke palette (F10). Apply black color on it and without fill color. See image below:-

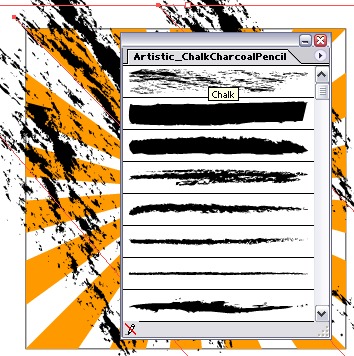
Select all our 3 lines by using
Shift key. Open the
Brushes palette (F5). Then click the small
triangle button on the right side
> Open Brush Library > Artistic_ChalkCharcoalPencil. Click on the brush that called
Chalk (the first one, on top) to apply the brush effect.
 Step 9
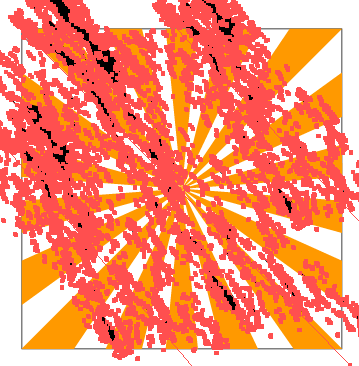
While all the lines was still on selected, go to
Object > Expand Appearance.

Then,
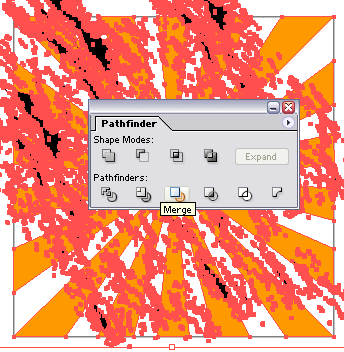
select all shapes including our
sunburst. Go to
Pathfinder palette (Shift + F9) and click
Merge.

After that, go to
Object > Expand and just click
OK. Ungroup them.
Object > Ungroup (Command/Ctrl + Shift + G). You might repeat this step (ungroup) 2 or 3 times until it cannot be ungroup anymore.
Step 10
Click anywhere on the artboard to deselect all shapes. Then, select some part of the black shape.

Go to
Select > Same > Fill Color. Press
Delete key.

Congratulation! Now you’ve created the grunge sunburst.
Repeat Step 7 to save this shape as your symbol.
Step 11
Now we gonna apply this grunge effect on text. Lock Layer 2.
Create new layer.
Go to the
Type Tool (T) and type anything on the artboard. Press
Command/Ctrl + T to bring out the
Character palette. I used
Verdana,
Bold,
60pt. Fill it with green color, #1E7D27 with no stroke.
Right click the text > Create Outlines.
Repeat Step 8,
9 and
10. In step 8, just draw one line instead of three. And make sure the line and the text has a different color.
This is what I get:
 Step 12
Last, but not least. Using the
Rectangle Tool (M), draw another rectangle for our text background. Apply a black color for both fill and stroke color. Go to the
Brushes palette (F5) once again and apply the
Chalk Scribble brush on the default Brushes palette.
Right click the rectangle > Arrange > Send to Back or just press Command/Ctrl + Shift + [.
Be creative. Rotate our text or play around using the other colors, gradient and so on. Besides, you also can add another text, shapes or anything that suits your design.
And..umm..one more thing. Remember our Layer 1? Unlock that layer and fill it with red color, #970F00 (or any color) with no stroke color.
Done.
Our final result:
That’s all for today and hope you guys enjoy this tutorial. Yeahhh!!! :)
